Apple’s iCloud Music Library is a great way to sync all your music across your devices. However, it’s not without its issues.
If you’re not happy with iCloud Music Library, you can disable it easily. Here’s how to do it.
Go to Settings
If you’ve reached the maximum number of devices allowed for iCloud Music Library to sync with, or you’re just not getting any music downloads, you may want to turn off cloud music library. Luckily, it’s easy to do, and you won’t lose any of your songs.
The iCloud Music Library is a great way to store your music on the cloud and make it available across all of your Apple devices. It’s especially useful if you have an Apple Music subscription, as it keeps your songs in one place for easy access.
When it’s turned on, iCloud Music Library will automatically back up your songs, ensuring they are safe. It also allows you to share your music with other users via iCloud.
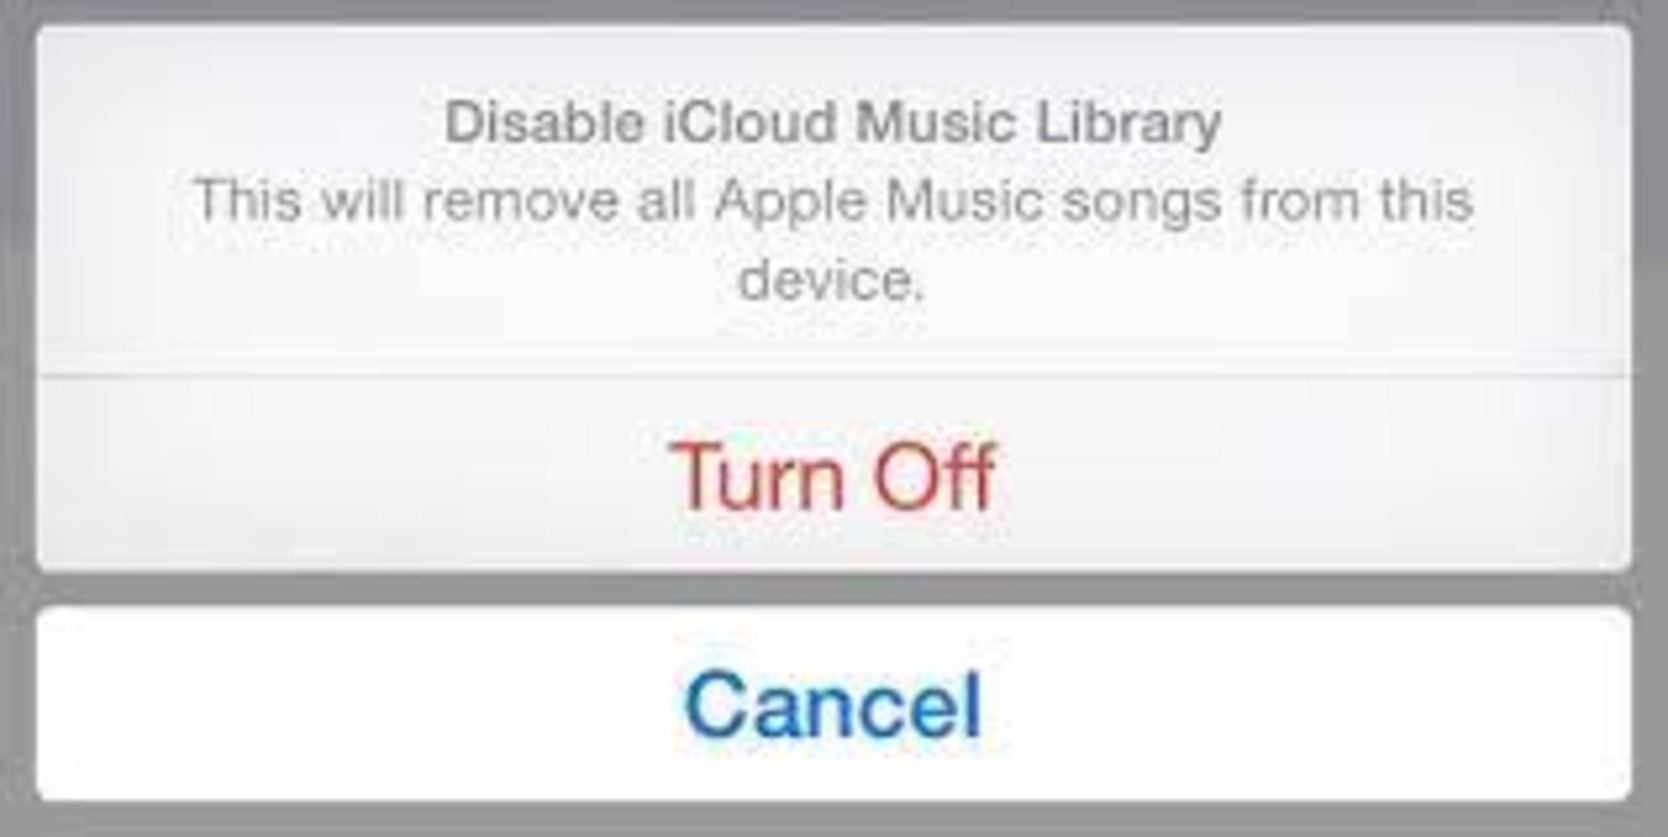
But there are a few drawbacks to turning on iCloud Music Library, which include using up a lot of mobile data, and having all your songs stored in a single place that can get messed up by a number of factors. For these reasons, and many more, some people choose to disable iCloud Music Library, or turn it off completely.
To turn off iCloud Music Library on an iPhone, open the Settings app and scroll down until you reach the Music section. You should see a button that looks like a grey box with a checkmark on it.
Click it to enable iCloud Music Library or turn it off. Once it’s disabled, you won’t be able to use iCloud Music Library on your device, but it will still work on other iOS devices and on computers running the latest version of iTunes.
Go to General
You can change the way your iPhone looks and works by tapping on Settings. This menu allows you to customize a range of options that control your storage, accessibility, and overall preferences. This includes settings for apps, ringtones, and more.
You also have the option to change the font size and shape of on-screen text. This is a great feature if you’re looking to add some extra character to your iPhone or just want to make the fonts easier to read.
The same can be done on your Mac or PC too. If you’re using iTunes on your computer, you can disable the iCloud Music Library by going to the General tab and unchecking the box next to Sync Library.
Once this is set, your songs will no longer be synced to other devices. This includes a cloud-based copy of your iTunes library, any saved songs from Apple Music, and any other tracks you uploaded to iCloud to stream on other devices.
Fortunately, there is an easy solution to this problem that will work on both iPhone and Mac: just use a music transfer tool like CopyTrans. The app backs up your whole music library on any iPod or iPhone in a matter of minutes, and it can even transfer the entire iTunes library.
It’s a great way to keep your favorite music in one place, and it makes it easier to access your entire collection from anywhere. Plus, it’s free to use and comes with a ton of other benefits.
Go to iCloud
iCloud Music Library makes it possible for you to store your music library in the cloud and access it across all of your iOS and Mac devices. It can be a great feature, but it can also cause a few issues when you aren’t using it correctly. If you find that you’re getting a lot of error messages, it may be time to disable this feature on your iPhone, iPad, or Mac.
To turn off iCloud Music Library on an iPhone, go to the Settings app and scroll down until you see “Music.” Tap it and look at the bottom of the screen to see “Sync Library,” which should be turned off. If you want to turn it back on, make sure that the option is toggled “on.”
You can also use iTunes to disable iCloud Music Library on a Mac or PC. Open iTunes on any of these computers and click “Edit” in the menu bar. Then, select “Preferences” in the dropdown menu.
Once you’re in the Preferences window, uncheck the box next to iCloud Music Library, then click OK. You can re-enable it later by checking the box again.
Go to Storage
If you’ve started to notice your iPhone running out of storage, it’s a good idea to take a look at what’s taking up the most space. You can easily do that by heading to Settings, tapping General and then scrolling down to iPhone Storage.
There you’ll see a breakdown of the types of files and media that are eating up the most space on your phone. It also includes recommendations on how to free up space, such as deleting apps that aren’t used.
Among the most common storage culprits are photos, music, and videos. Fortunately, your iPhone can optimize photos so that smaller versions of them are stored locally instead of taking up more space. You can also turn on the Optimize Storage feature for Apple Music to save even more of your device’s space.
You can also delete downloaded music offline on your iPhone if you want to clear out some storage. Just head to the iPhone Storage section of Settings and search for an app that you’ve downloaded offline content from. You’ll then see a list of the contents of that app sorted by size and a button to offload or delete it.
This will take up a little more work than simply removing an app from your Home screen, but it can be useful for quickly clearing out some storage space. It’s also an easy way to locate any music files that you may have downloaded to your device but don’t use anymore.